Showing posts with label Makeovers. Show all posts

Lamp Love

My friend, Karen, and I felt so sorry for this vase on the clearance rack at Stein Mart... so bad that we rescued it and turned it into a fabulous lamp!

Before:


After!


The vase was only $13, and the whole lamp ended up costing around $35! This was a fun project, and this is how you can do it...

1) Gather materials (see photo below): vase, spray paint, lamp kit (bought at goodwill for $6!), fabric, ribbon, wood thingies with holes to cap off mouth of vase (got these at Joannes), drill with diamond bit (Lowes).

2) Unless your vase is wood (which would be weird) use a diamond bit to drill a hole in lower side of vase. We got ours from Lowes for $15. Diamond bits work on tile, glass, ceramic, and probably surgical steal.

3) Spray paint vase. I regretted not using a primer spray first because it took nearly 500 coats to cover the design. #1 spray painting rule: do many super-light coats to keep from dripping. It's tedious but worth it. Grab a margarita and make an evening out of it.

4) Cover lamp shade with fabric and grosgrain ribbon to trim. We bought a self-stick shade from Joannes. They are cheap (this one was $8) and super easy to stick fabric or paper to. You could also use spray adhesive on a regular shade.

5) Assemble lamp kit parts. You can easily find lamp kits and parts at home improvement stores. We stopped by Goodwill to look for cheap lamps to disembody and use parts from (they have like $3 lamps that are great for this), but they just happened to have an unopened lamp kit for $6. That's just crazy luck. We added the wooden piece (available at craft stores - anything with a hole will work) to the assembly to act as a cap on the mouth of the vase (see picture of assembly below).

6) Glue the wooden piece to the mouth of the vase and install shade. I used Liquid Nails from Lowes.

7) Turn that baby on and do a super cool victory dance.


This is Joshua's 'oh man I hope I don't break this thing' look: 


The very sad ending to this story is that I built this for Karen's master bedroom that I am helping her revive. I am heartbroken to deliver it to her tomorrow because it looks so happy in my nook. But I know it is best, for it will be even happier in her newly fabulous boudoir. I'll be posting about that project soon. At least I'll always have the memories...

I Heart Yellow

I am finally inspired to get off my butt and paint something. And today, that something is a chair. While sitting on the couch in my sweaty gym clothes, surfing blogs, I stumbled upon this from Nuestra Vida Dolce:

Now I know this is not everyone's cup of tea, but it couldn't be more my flavor. This yellow is haunting my dreams at the moment. My fave catalogs, mags, and blogs are flooded with saturated, lemony hues, and it's makin me happy.

So here's the plan. I have this folding black chair left over from one of my mom's events (she's an amazing floral/event designer).


The paint is chipping on it, and I'm sure she won't mind if I paint it (she won't know till it's done anyway). I'm thinking of putting it in my living room next to my antique... uh, I don't know what you call this piece, but I use it as a pseudo office desk. Then I'm going to recover the black cushion with some chic black and white fabric.

So here it is. I wasn't sure at first about the color. It's brighter than I wanted, but I think it's growing on me. And the black and white cushion was just too much. I like the plain black. I know this is a terrible photo. I'll try to take a better one and post tonight.


I have to add some glossy white knobs to the "desk," and imagine the black and white blanket I used as a rug in the picture is a faux zebra rug like this one (my next purchase). This one is from an ebay store, Shine Rugs.

Bedroom Gone Wrong

Although I have yet to “finish” any other room thus far in my crazy house, I decided to begin work on decorating our master bedroom right after Christmas. I think I was just too jealous of Rosa’s fabulous big-girl room. Three full months later, and maybe halfway through, I’m already swooning over ideas for the playroom. Dammit I need to focus. So instead of posting about the playroom wall project I’m dying to tell you about, I’m gonna post about the frustrating state of my marital bed (a weird term I’ve grown to love from my recent John Rosemond reads).

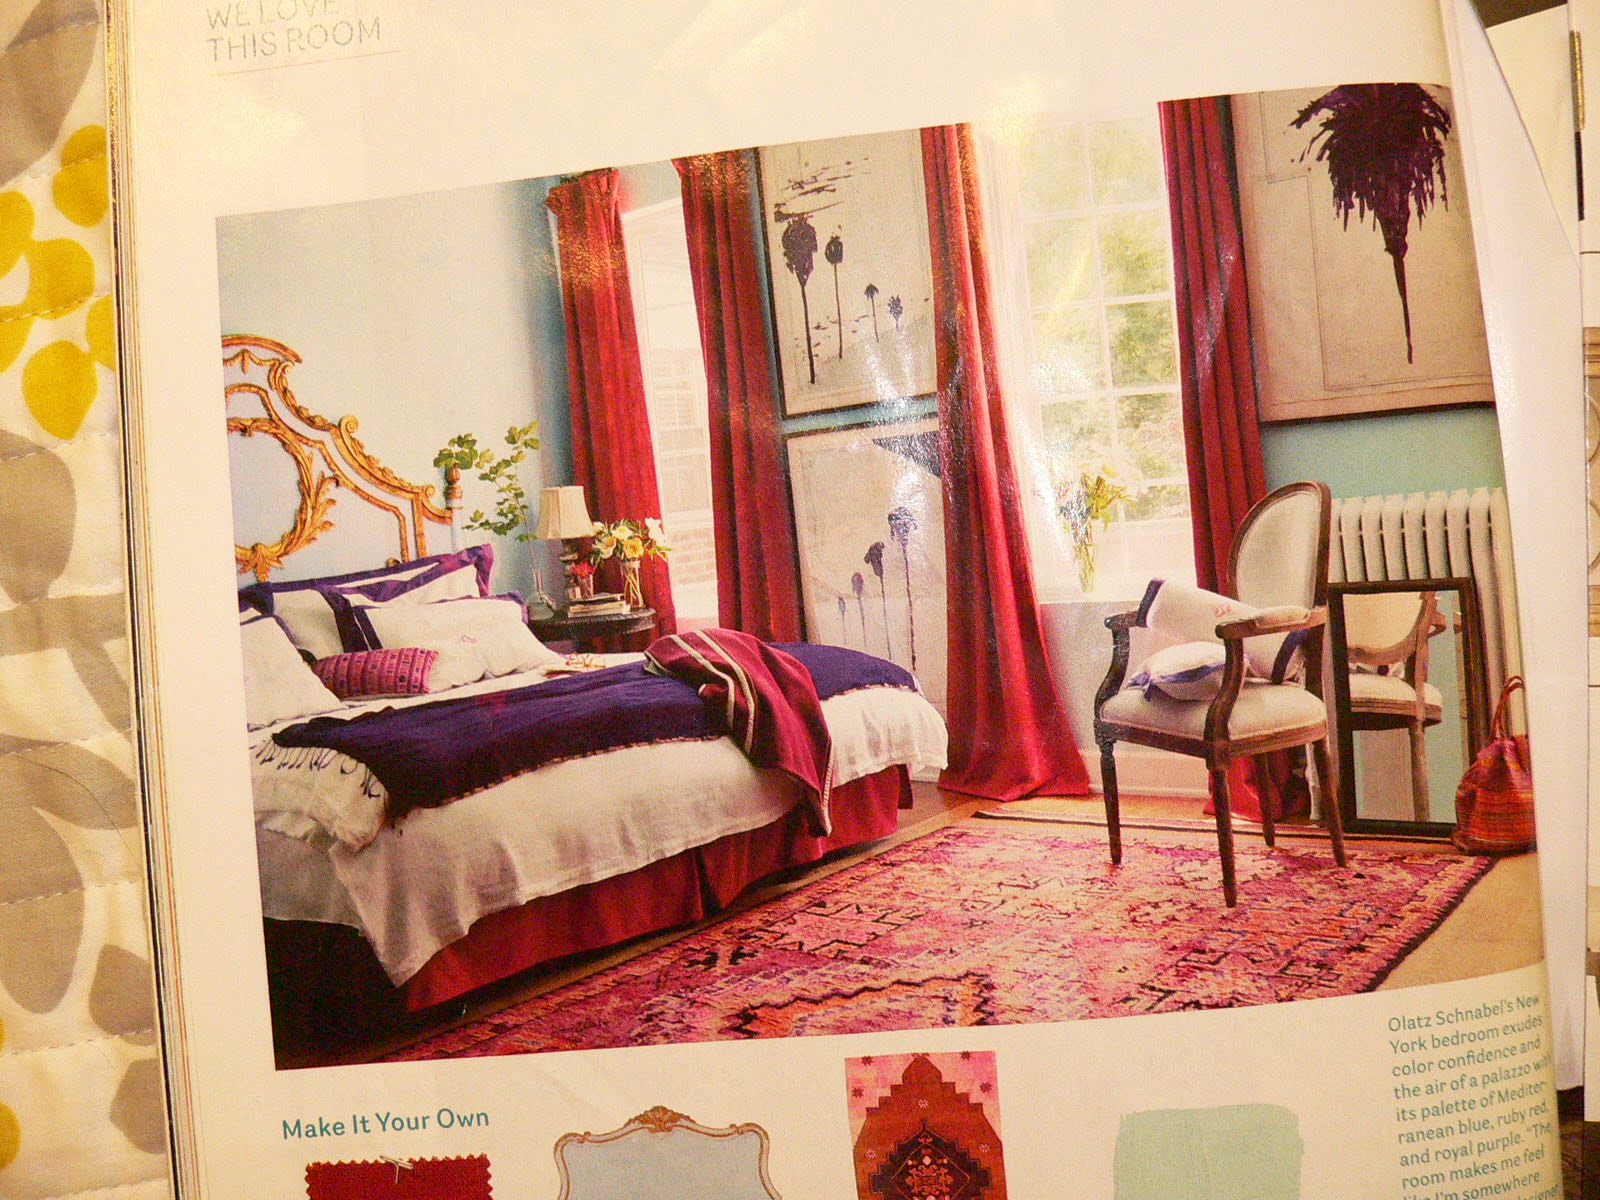
It took me a long time to decide what direction to go with this room. I wanted an oxymoronic scheme that was both bright and cheery and dark and sexy. I finally found my inspiration while on a romantic getaway with Josh in Asheville, NC. The b&b we stayed at was luckily managed by a gamut of gay men, and there were many home décor mags on site. While thumbing through a House Beautiful issue, I discovered THE perfect boudoir. I don’t know if I was high on the claw-foot antiquity of the b&b or the ornate gorgeousness of the Biltmore Mansion we had toured that morning, but I fell head over heels with this:


Oh yes, the bright blue-green walls with those sexy red curtains just hit me right in the spot. So I began my reno as soon as we returned home. First I hurried over to Benjamin Moore to get the exact color the article suggested, Blue Diamond, but in person the swatch looked way too bright. After testing a few sample pots on the wall, I ended up going with Forget Me Not

Next, I needed the perfect red curtains. I scoured the Internet for red velvet ones, but everything I found was either too porn-set or too darn expensive (oh how I woulda loved to order PB velvet drapes, but whatever. I’m poor). I finally found these blackout drapes from Overstock.com and couldn’t resist. They were the perfect price, length, and color, and they had amazing reviews.
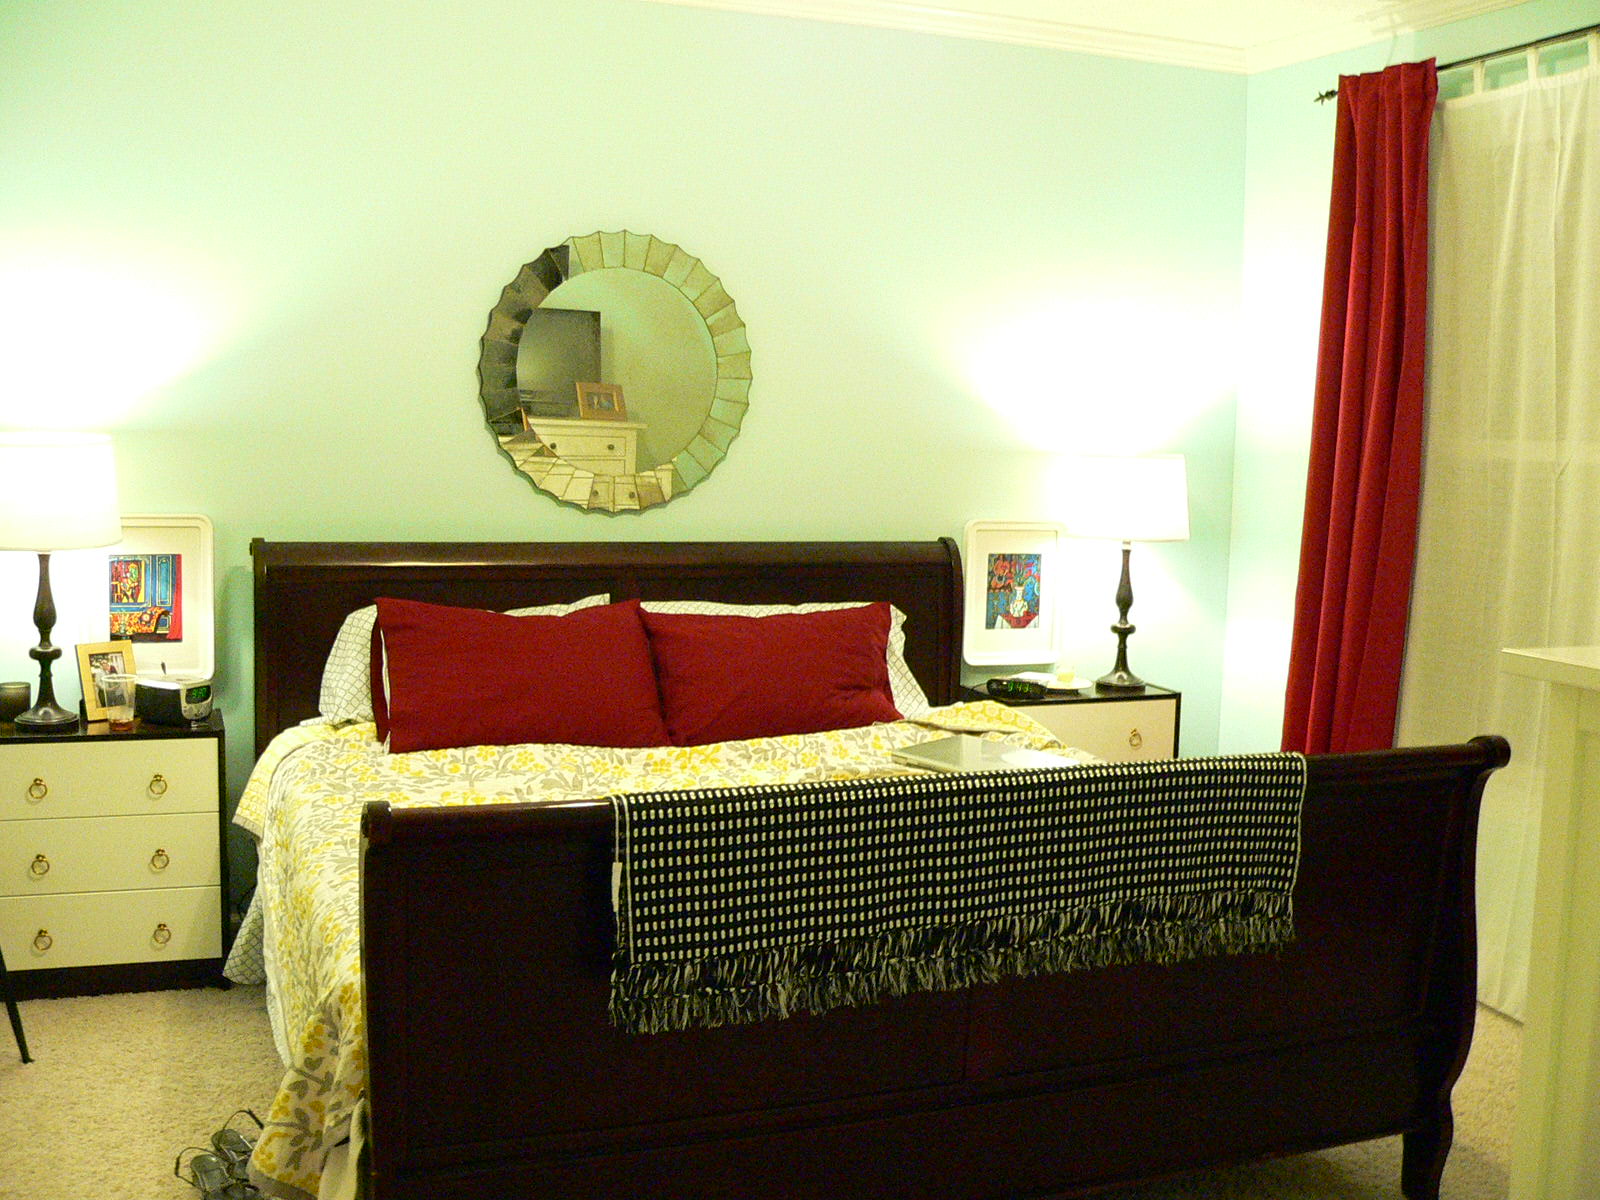
So here is where I’m at so far. Ugh:


I know it's not that bad, but I hate it. One major problem is the mirror. It’s a FABULOUS mirror that my mom gave me many years back as a birthday present, but it’s just not working. It’s too round, too silvery, and too… I don’t know. Anyway, it’s gotta go.

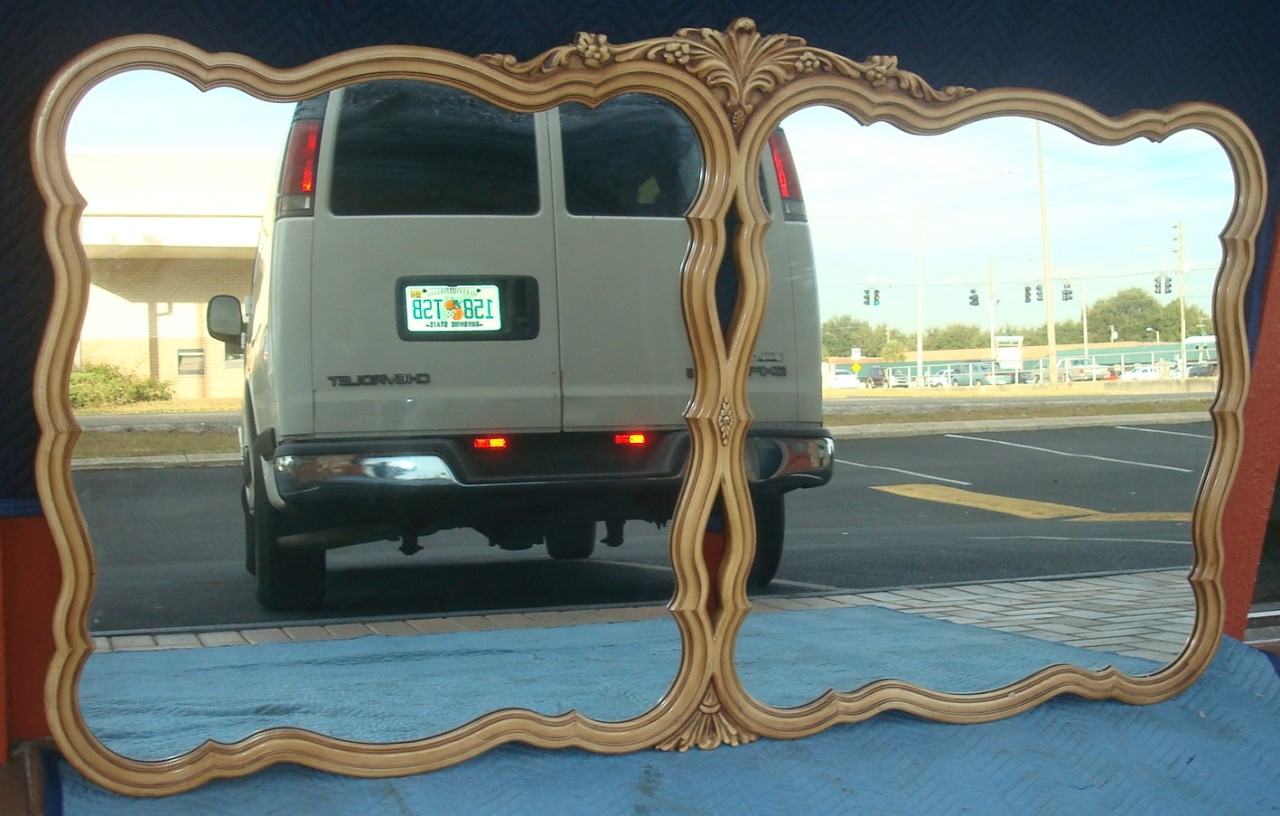
The whole thing is too much bright-and-cheery and not enough swank. Maybe I need to French it up a bit. I’m dying to try an ornate, gilt mantel mirror, echoing the headboard in the mag feature. I’ve been searching ebay, and I really want to get this, but I can’t afford it.


In my wildest dreams I'd get this thing and gold leaf it in a hurry, but It’s listed for $495. Aint happnin. Maybe I need to support my local antique shops and get off of my butt to go shopping instead of surfing websites. I'm hoping to find something that may need some gold leafing. I’ve been dying to gild something! Rosa is too wiggly and Josh is too resistant. A mirror’s the next best thing. Stay tuned.


My First Ikea Hack - RAST Sidetables


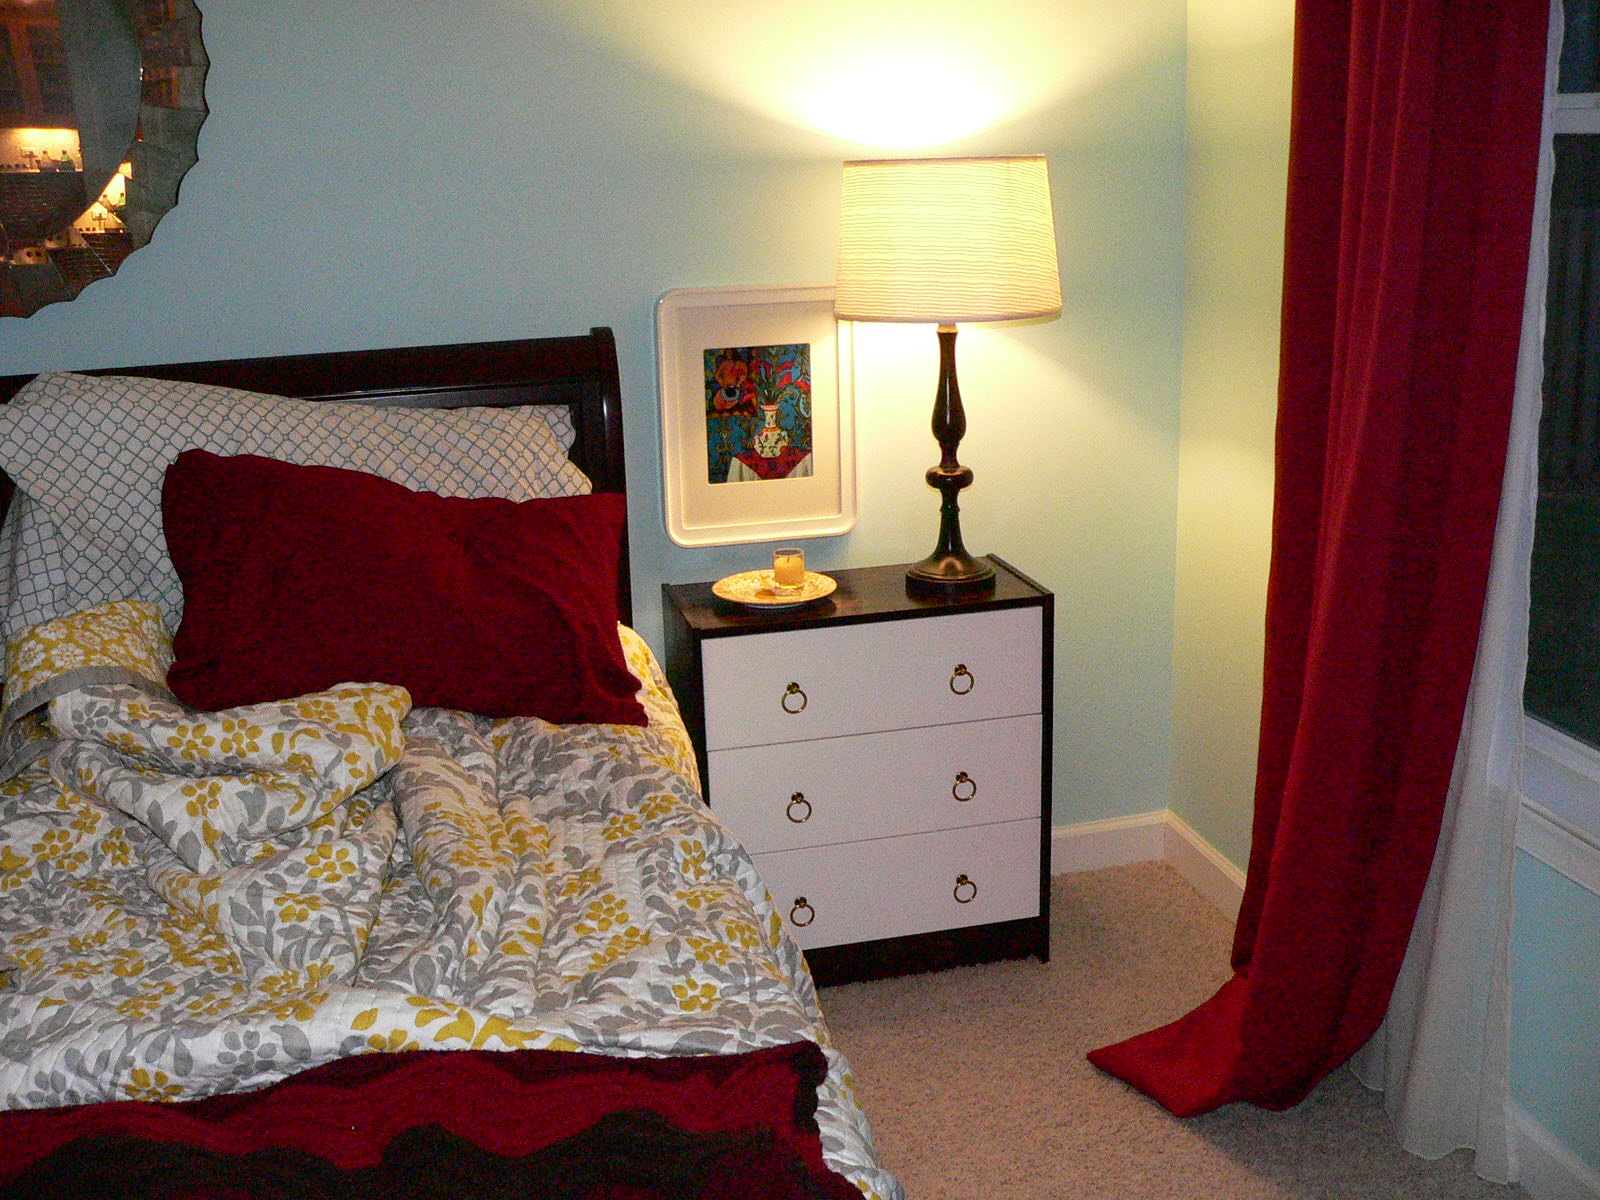
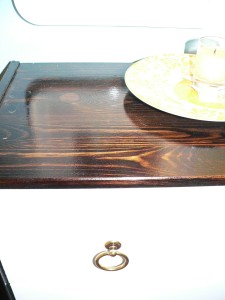
See my lovely new nightstand! I actually have two, and I love them each equally. This is my first ever IKEA hack. Here is the BEFORE:

I know! Aren't I amazing?? Well, I can't take credit for the idea. I was inspired by one of my favorite IKEA hacks of all time on Aubrey + Lindsay's Little House Blog. I basically did it the same way they did, but with a much darker stain (and times two). And I am positively swooning over the results. Here is what I did...

1) Bought two super ugly RAST 3-drawer chests from IKEA ($29 each). These are solid wood - great quality for an insanely good price.
2) Assembled the bodies of the cabinets, leaving the drawers to assemble last.
3) Stained both bodies with Minwax Dark Walnut stain (2 coats) and painted the drawer fronts with Benjamin Moore Chantilly Lace high gloss acrylic enamel (3 thick coats). I did not sand or prime first. I'm way too impatient for all that, but I kind of regretted not sanding the drawer fronts. They are a tiny bit rough to the touch.
4) Applied two coats of oil based Minwax Polyurethane to the bodies, sanding super lightly in between coats. I went for the oil based because it was way cheaper. Also, I skipped the poly on the drawer fronts because I didn't want the white to yellow over time.
5) Assembled the drawers and attached the drawer pulls from  Lee Valley (51mm x 43mm $2.80 Burnished Bronze)

The whole project cost just at $140 (that's for everything from the cabinets to the paint brushes). Not too shabby considering I was going to order these similar ones from Walmart for $130 EACH plus shipping (and mine are way cuter)!

I know the bed is unmade. That happens around here.