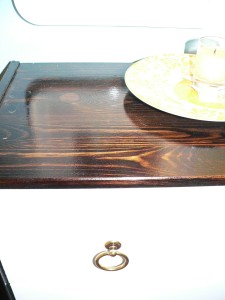
See my lovely new nightstand! I actually have two, and I love them each equally. This is my first ever IKEA hack. Here is the BEFORE:
I know! Aren't I amazing?? Well, I can't take credit for the idea. I was inspired by one of my favorite IKEA hacks of all time on
Aubrey + Lindsay's Little House Blog. I basically did it the same way they did, but with a much darker stain (and times two). And I am positively swooning over the results. Here is what I did...
1) Bought two super ugly
RAST 3-drawer chests from IKEA ($29 each). These are solid wood - great quality for an insanely good price.
2) Assembled the bodies of the cabinets, leaving the drawers to assemble last.
3) Stained both bodies with Minwax Dark Walnut stain (2 coats) and painted the drawer fronts with Benjamin Moore Chantilly Lace high gloss acrylic enamel (3 thick coats). I did not sand or prime first. I'm way too impatient for all that, but I kind of regretted not sanding the drawer fronts. They are a tiny bit rough to the touch.
4) Applied two coats of oil based Minwax Polyurethane to the bodies, sanding super lightly in between coats. I went for the oil based because it was way cheaper. Also, I skipped the poly on the drawer fronts because I didn't want the white to yellow over time.
5) Assembled the drawers and attached the drawer pulls from
Lee Valley (51mm x 43mm $2.80 Burnished Bronze)
The whole project cost just at $140 (that's for everything from the cabinets to the paint brushes). Not too shabby considering I was going to order
these similar ones from Walmart for $130 EACH plus shipping (and mine are way cuter)!
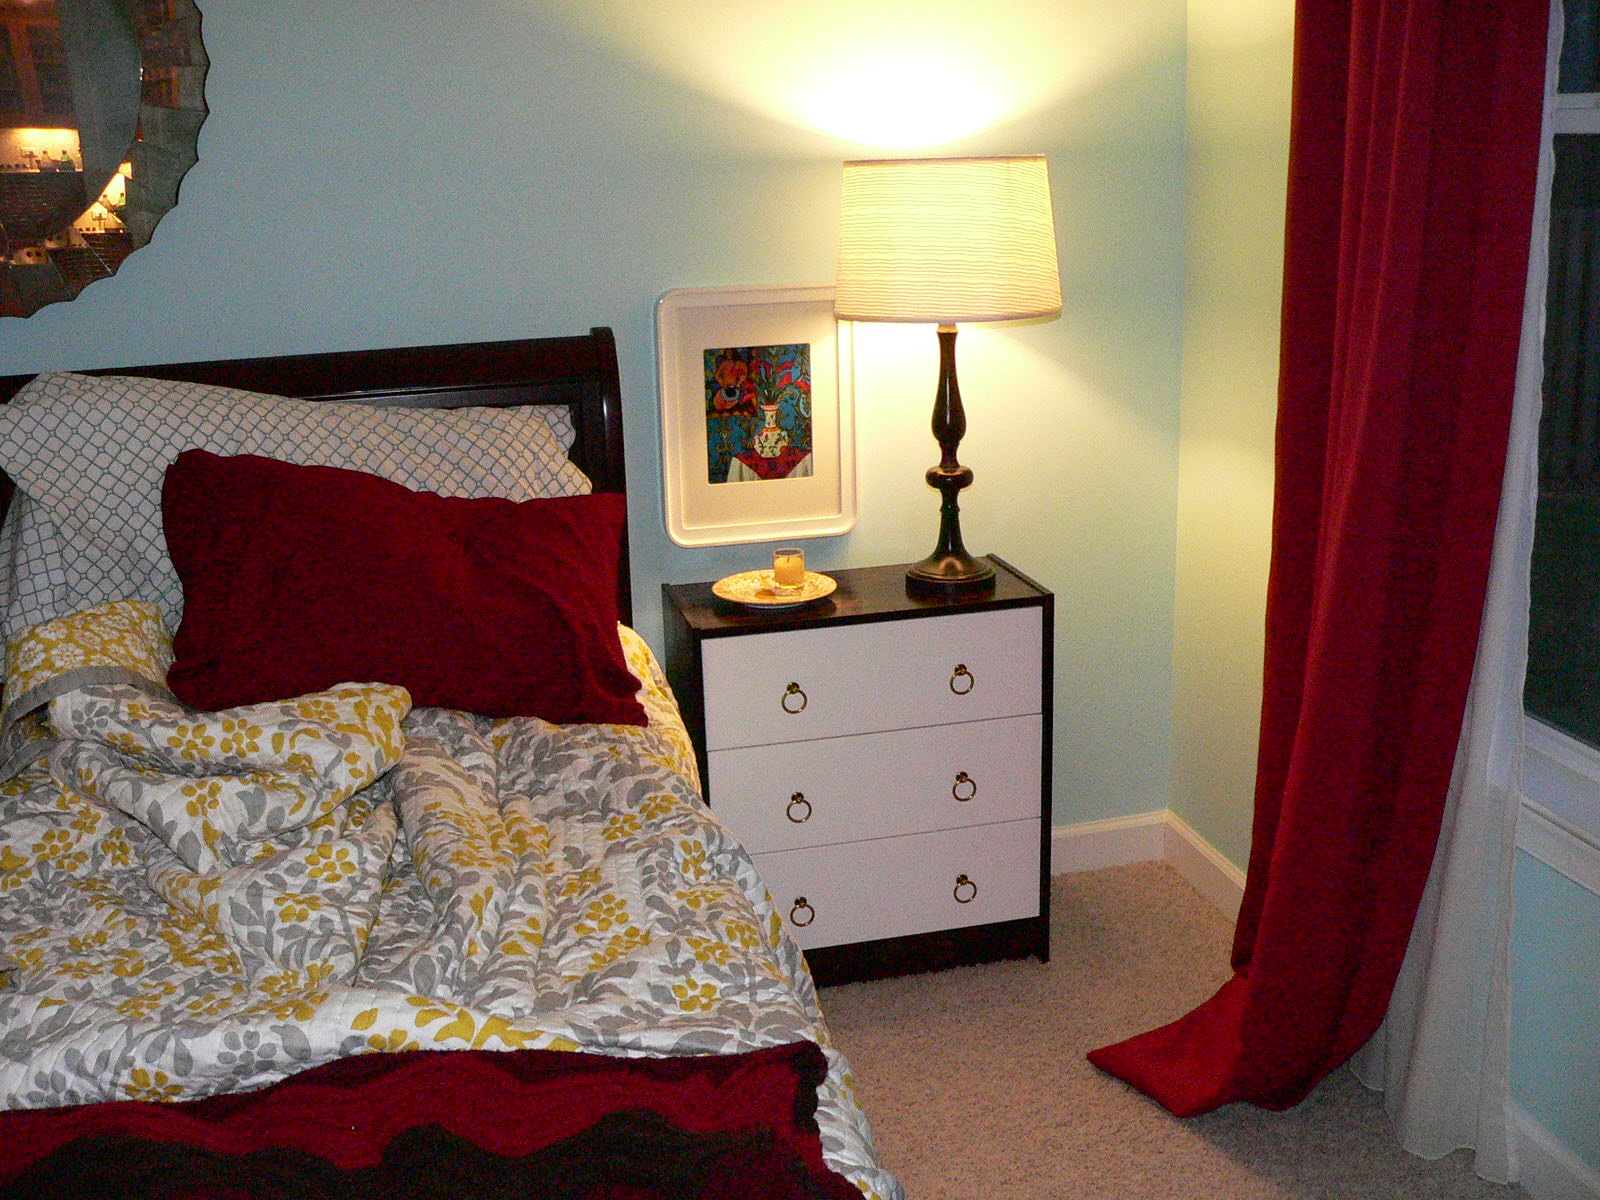 |
| I know the bed is unmade. That happens around here. |